Blog Details
How to Solder Copper Pipe to Brass Fitting
In India, where plumbing systems have a mix of old and new installations, learning how to join a copper pipe to a brass fitting is a handy DIY skill to have. Whether you are fixing small things at home or running a new water line, being able to do this will give you confidence and will save you time and money.
This guide will walk you through each step using tools you can find in Indian hardware stores. We'll also cover key A brass fitting parts you should know about.
Understanding the Materials
The Plumbers often use copper and brass because they resist corrosion well and conduct heat . As brass is made of copper and zinc, it pairs well with copper. This means you can solder these two metals and make sturdy, lasting connections used in plumbing systems.
Tools and Materials Required
- Copper Pipe:Cut it to the right length and check for any flaws.
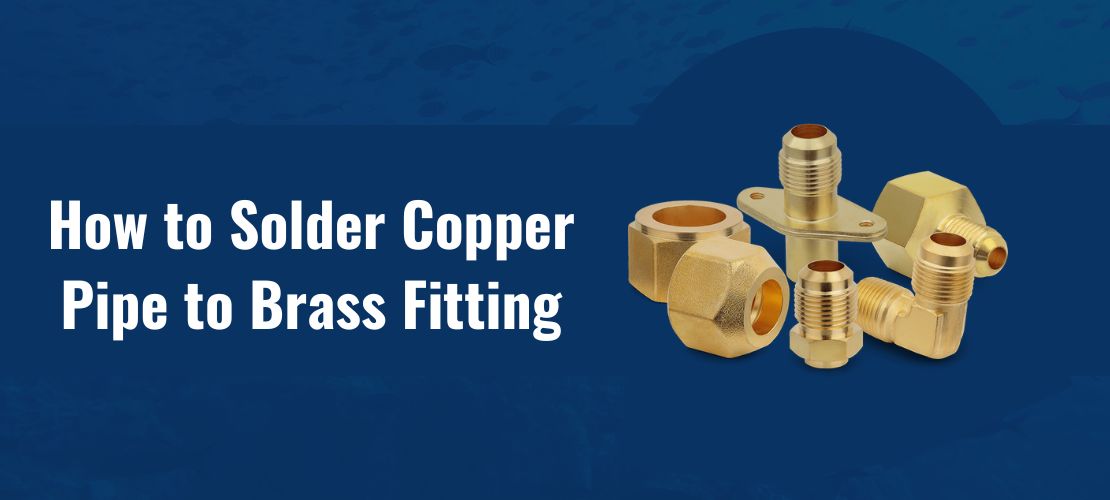
- Brass Fitting:Pick the right type (like an elbow, tee, or coupling) for what you need.
- Lead-Free Solder:Use this for drinking water systems to keep the water safe.
- Flux:This stuff cleans and gets the metal ready for soldering.
- Emery Cloth or Sandpaper:Use this to clean the outside of the copper pipe and the inside of the brass fitting.
- Pipe Cleaning Brush:This cleans the inside of both the pipe and fitting.
- Pipe Cutter:This tool makes clean, exact cuts on the copper pipe.
- Propane or MAPP Gas Torch:Heats the joint to the right temperature for soldering.
- Safety Gear:Has gloves that can resist heat, special clothing, and goggles.
- Heat Shield:Shields adjacent surfaces from heat produced by the torch.
Step-by-Step Process: How to Solder Copper Pipe to Bbrass fitting partsrass Fitting
- Step 1 - Prepare the Copper Pipe:Use a pipe cutter to make the pipe of your desired length and smooth the ends by using emery cloth. Make sure the ends are clean so the copper can bond to the brass.
- Step 2: Clean the Brass Fitting:Use brush made up of wire (or sand paper) on the inside of the fitting to clean it. Dirt, oil, or rust can add difficulty in the soldering process.
- Step 3: Apply Flux:Apply a smooth coating of flux with equal thickness over the A exterior of copper pipes and the adjacent inner region of brass fitting parts. Both oxidation prevention and solder movement occur because of flux application when heating metals.
- Step 4: Assemble the Joint:Push the copper pipe into the brass fitting parts with force. Give it a little turn to spread the flux and make sure the surfaces touch.
- Step 5: Heat the Joint:Use a propane or butane torch to heat the joint. Move the flame around the joint to heat both the pipe and the fitting the same way.
- Step 6: Add Solder:Avoid touching the solder wire to the flame. The solder will melt once joints get hot, and by capillary action it will flow.
- Step 7: Cool down:Don't touch or disturb it while it cools, as touching it will break the seal. After it cooled, we will take a damp cloth and wipe off any excess flux.
- Step 8: Test for Leaks:After everything cools down and you clean it, test the connection by turning on the water supply. Look at the joint for any leaks. If you spot any, heat it again and add more solder as needed.
Assembling and Soldering
Assembling the Joint:
Push the copper pipe into the brass fitting parts. Make sure it fits. Give the fitting a little twist to spread the flux evenly.
Heating the Joint:
Light the torch and set it to a medium flame. Evenly heat the joint by moving the flame around the fitting and pipe. The joint is good to solder when the flux starts to sizzle and bubble.
Applying Solder:
When the joint reaches that temperature, remove the flame and touch the alloy to the joint. The heat will wick the alloy into the joint through capillary action. Move the alloy around the joint until the area is filled.
Cooling:
Let the joint cool. After the joint has cooled, wipe away any flux using a damp rag.
Testing the Joint
Once the joint cools down, you need to check for leaks:
- Visual Inspection:Check for gaps or spots where solder doesn't cover completely.
- Pressure Test:Once fitted and completed, flood the system with air or water under pressure and look for leaks.
Common Mistakes to Avoid
Whenever someone knows how to solder a copper pipe to a brass fitting, they will surely make some of the most common mistakes if they are new to it. Here is what you can do to prevent those mistakes:
- Not Cleaning Enough:Grime or oxide layers can stop solder from sticking well.
- Too Much Heat:This can burn off the flux or harm sensitive brass fitting parts.
- Improper Soldering Technique:Solder application before the joint gets hot enough creates weak connections.
- Neglecting Safety Gear: Put on gloves and goggles to shield yourself from heat and flux splashes.
Maintenance Tips After Soldering
- Check your plumbing joints often in the first few days after installation.
- Look for rust, corrosion, or leak signs.
- Don't bang or twist the pipes after installation.
Conclusion
It is a useful skill to know how to solder copper pipe to brass fitting, particularly in households in India, where it is recognised that most people would prefer to attempt minor repairs on their own, as opposed to calling a plumber. Provided you have the suitable equipment and follow the suitable process, your plumbing systems will be sealed and functional for a long time.